 ClipClep
Start here
ClipClep turns a long recording into short, captioned videos. You bring the source, review the moments, and choose what to publish. This guide follows the desktop workflow from first launch to your final upload.
- Prepare: install ClipClep, activate your license, and connect an AI provider.
- Create: add a video, import or generate its transcript, and find clips.
- Finish: review timing, framing, and captions; export and watch the result.
- Publish: prepare titles and thumbnails, then upload or use the exported file.
For your first run, use a short recording and export one clip. It is easier to check the whole workflow before processing a long episode. Button names in this guide match the app’s English interface.
Install & activate
Before you begin
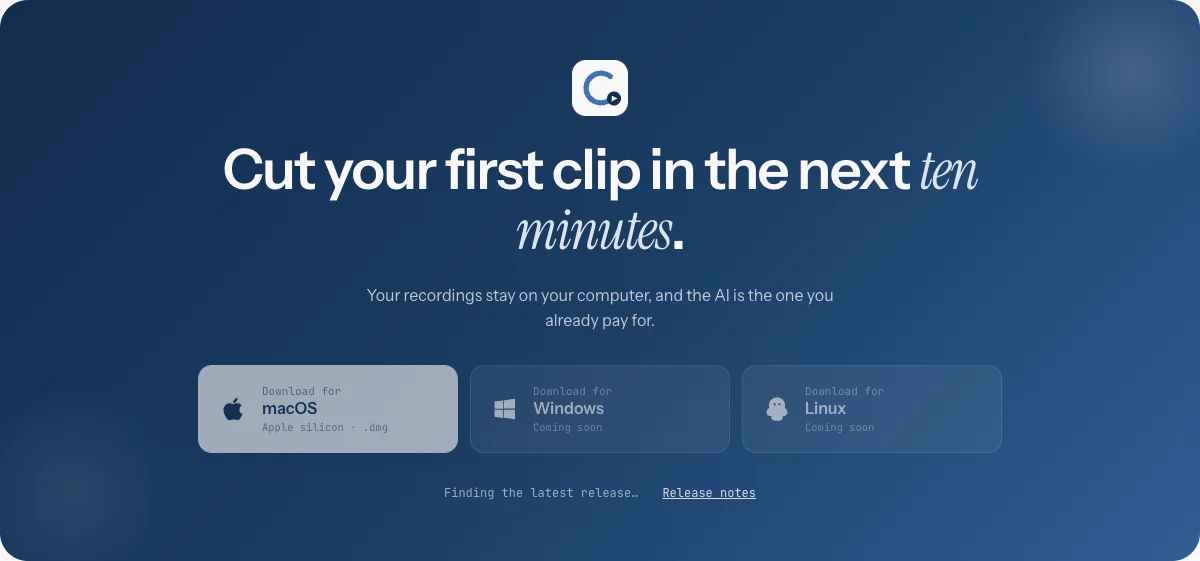
Use the installer matching your computer: macOS on Apple silicon, or 64-bit Windows. Check the download section for available builds. Have your recording, enough free disk space for the source and exported videos, and an internet connection for initial setup.
- Open Download ClipClep and choose your platform.
- On macOS, open the DMG and move ClipClep to Applications. On Windows, run the downloaded installer and follow its prompts.
- Launch ClipClep and let the engine finish preparing its transcription and video tools. The first launch may take longer and need downloads.
- Follow the license screen to activate your key or start a trial if offered. Review your status in Config → License.
- Wait for the studio to load. Open Config → Storage to review storage settings before a large project.
Keep your original media in a stable folder. Moving or deleting the source can prevent later re-rendering. Available integrations depend on your license; check the app’s license status.
Connect your AI
Clip suggestions, generated copy, and caption translation need an AI provider. Local Whisper transcription and video rendering are separate from this connection.
- Open Config → AI and review the detected Claude Code / Codex status.
- If using a supported CLI, install and sign in to that tool first. Return to ClipClep and check that it is detected. Restart the app after installation if needed.
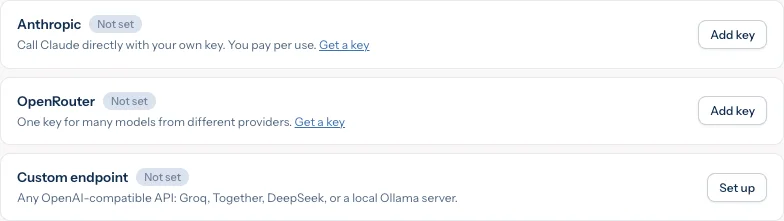
- Alternatively, open Config → API keys, enter an Anthropic or OpenRouter key, and save it. Use the provider controls available in the episode workflow.
- Test the connection by requesting clips from a short transcript. If it fails, check the provider login, balance or quota, and the diagnostics report.
AI requests use your provider account and may incur charges. Transcript text and requested context go to that provider. Local transcription keeps audio on your computer; choosing cloud transcription such as AssemblyAI sends audio to that service.
Know your workspace
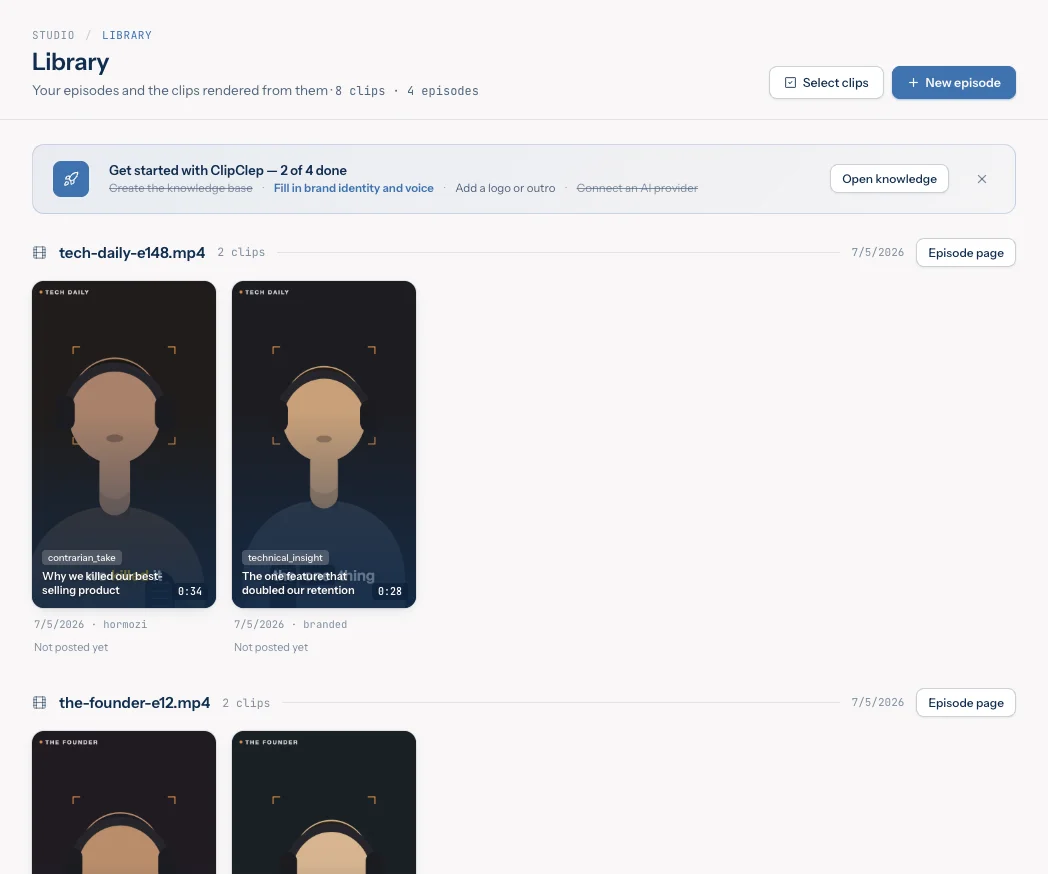
- Library: find saved episodes, full-episode exports, and rendered clips. Open an episode to manage its copy and clips together.
- New episode: import media, prepare a transcript, select moments, and configure exports.
- Config → Thumbnails: configure thumbnail templates; use episode and clip pages for their artwork.
- Knowledge / Assets: keep your show’s guidance and reusable media.
- Config / Integrations / MCP setup: manage settings, publishing connections, and AI assistant access.
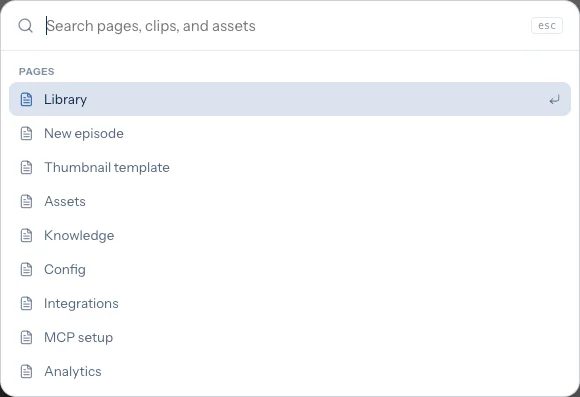
Watch the jobs indicator for background work. Use the command palette to find pages and commands. On macOS, ⌘K opens the palette, ⌘N starts a new episode, and ⌘, opens Config.
Add an episode
- Open New episode.
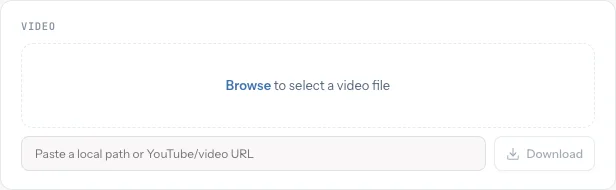
- Drop a local video into the Video area or click it to browse. The picker accepts MP4, MOV, MKV, and WEBM, plus MP3, WAV, and M4A audio inputs. Use a video source for this vertical-video walkthrough.
- For an online source, use the URL input and follow the import controls. Import only media you have permission to use; availability depends on the source.
- Wait for the source to load, then confirm you have selected the correct recording before adding its transcript. For a local video, fill in Original video link with the source’s original URL; the clip export controls require it.
A transcript does not replace the original video. Keep the matching source available for rendering. Start with a local video if an online import fails.
Prepare the transcript
Option A · Use an existing transcript
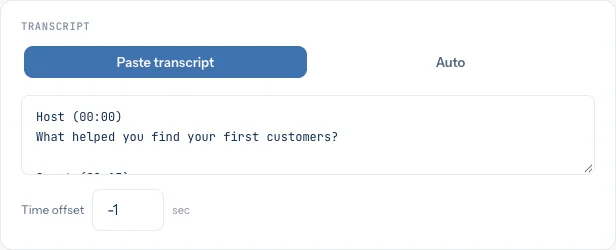
- Choose Paste transcript in New episode.
- Drop or browse for SRT, VTT, JSON with word timestamps, or TXT with
Speaker (MM:SS)blocks. You can also paste the text. - Check that the transcript belongs to this exact edit of the video. Use Time offset for a consistent timing shift, then check the beginning, middle, and end.
Host (00:00)
Welcome to the episode.

Guest (00:15)
Here is what I learned.
Option B · Generate a transcript
- Choose Auto, then select the engine.
- Choose Whisper for local transcription and select a model. Larger models can take longer and use more memory.
- For AssemblyAI, provide its API key in the form or Config. This cloud option requires internet and a service account.
- Let transcription finish. Review names, technical terms, and timings before finding clips.
Accurate timestamps matter for cuts and subtitles. SRT/VTT segment timing is less precise than genuine word timestamps. Plain text without usable timing cannot provide reliable synchronized captions.
Find & review moments
- With the source and transcript ready, click Find the best clips. Review any available instructions or provider settings before starting.
- Watch the progress stages. Long transcripts and provider queues can take several minutes; avoid launching duplicate requests while the job is running.
- Review each proposed moment. Play the relevant source, read the text, and check that the opening makes sense without the rest of the episode.
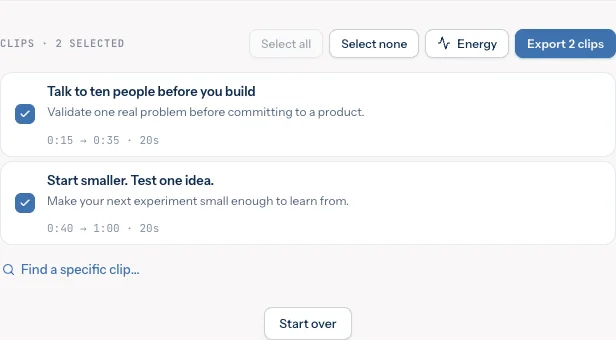
- Use Find a specific clip to describe a topic or paste a quote, then choose Find & add.
- Select only the clips you want to export. Adjust their available timing and content controls so the beginning and ending do not cut off a sentence.
AI suggestions are editorial starting points. Check meaning, context, repeated ideas, and sensitive details yourself. A strong clip has a clear opening and a complete payoff.
Style captions & framing
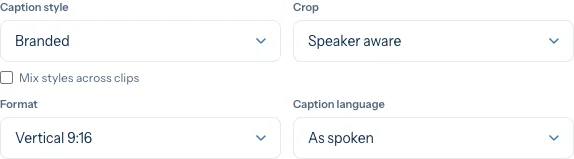
- Open the episode’s settings and choose the output shape. Use 9:16 for a vertical clip, then review the framing mode and preview.
- Enable captions and choose a style. Adjust the available size and position controls so subtitles stay readable and do not cover faces.
- To vary the look, enable Mix styles across clips and select multiple styles. They rotate in selection order across exported clips; deselected clips do not count.
- For translation, choose Caption language. Your AI provider translates captions during each clip’s render.
- Choose a quality setting. Start with Balanced, export one sample, then decide whether to change it.
The phone preview is an approximation and stays in the spoken language for translated captions. Watch the rendered file to verify final motion and translation. Translated captions and the style mix do not apply to full-episode export; it uses a single supported style. Quality settings affect software encoding; hardware encoding may behave differently.
Export & check the result
- Confirm the selected clip count, original source, and caption settings.
- Click Export … clips and monitor the job. Keep the app running and the source drive connected until it finishes.
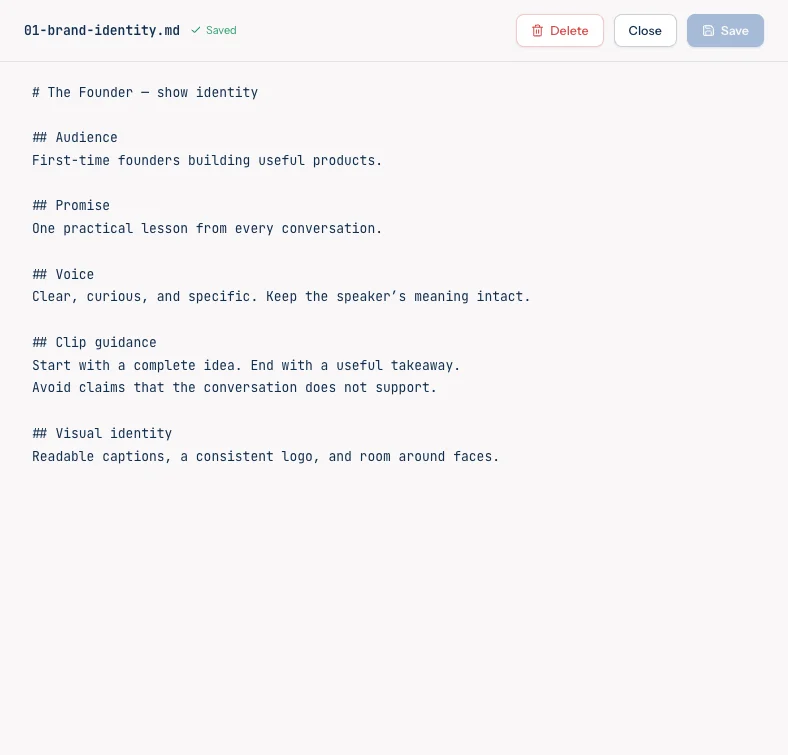
- Open the result in Library. Play every exported clip with sound, especially around cuts and speaker changes.
- Check subtitle spelling and synchronization, faces inside the frame, audio continuity, and the final second.
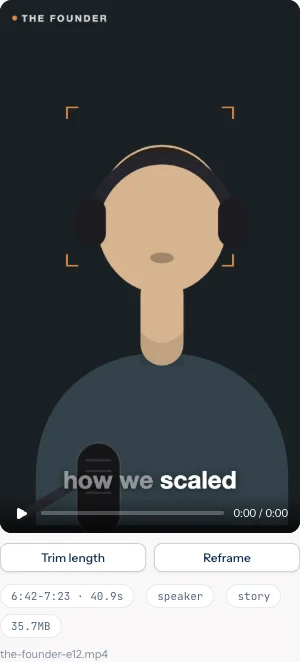
- Open a clip’s detail page and use Trim length or Reframe if needed. These actions re-render the clip; inspect the new result again.
Export the whole episode
Use Export full episode in New episode to export the imported video with supported captions while retaining original framing and audio. Find its exports on the episode page in Library.
Rendering speed depends on duration, caption style, framing, and hardware. A completed job is the start of your quality check, not proof that every editorial choice is correct.
Prepare titles & thumbnails
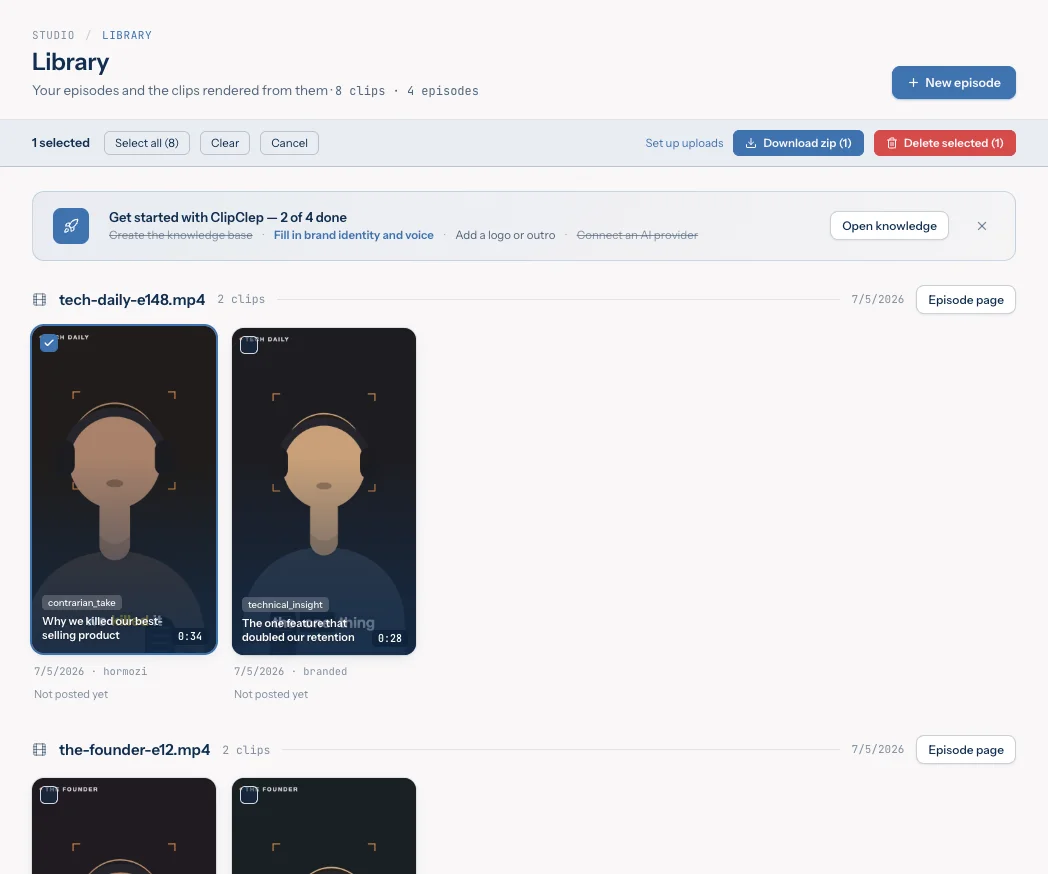
- In Library, open the episode. Generate its titles, description, tags, and hashtags, then edit and save the copy.
- Generate chapters if the episode has timed transcript segments. Check that each topic starts where the video actually changes subject.
- Use the episode cover or clip thumbnail controls to prepare artwork. Configure reusable styling in Config → Thumbnails, then open the thumbnail template editor.
- Review the title and image together: the promise should match the video. Check text at phone size and keep important elements away from platform overlays.
Chapters require timed segments. Imported text without timing is not enough. Generated copy and artwork still need a human review for names, factual accuracy, and brand voice.
Reuse your brand & assets
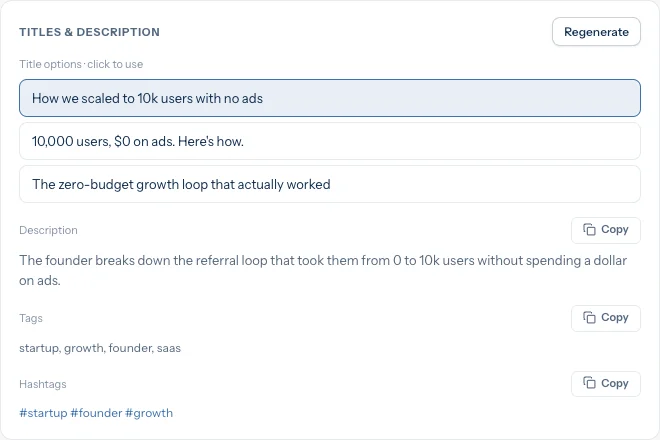
- Open Knowledge and initialize the knowledge files if the workspace is empty.
- Write your show identity, audience, voice, preferred topics, title guidance, and words to avoid. Save each edited file.
- Open Assets and add reusable media such as your logo or other supported assets. Use the available filters to find them later.
- Select the relevant assets where the episode or rendering controls offer them. Uploading an asset alone does not apply it to every video.
- After publishing, record what worked in your knowledge notes to guide future content.
Keep guidance specific: “Explain one practical lesson to first-time founders” is more useful than “make it viral.”
Publish your videos
Connect a destination
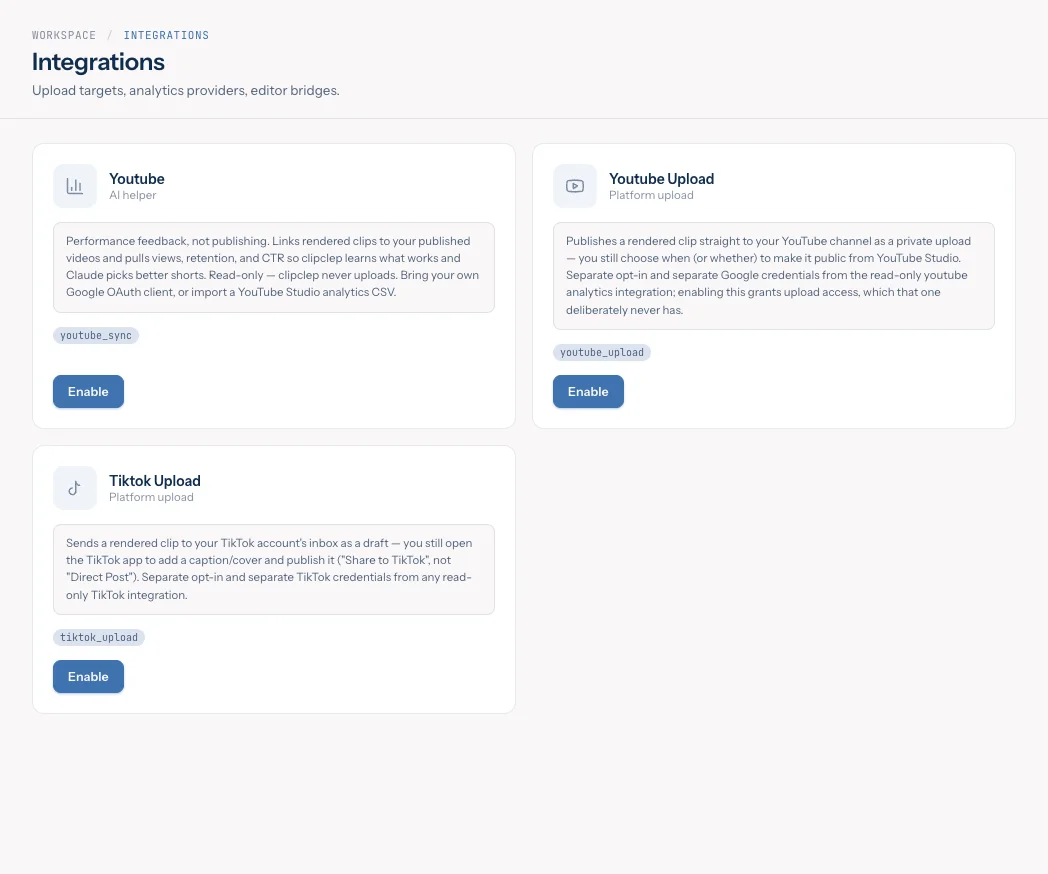
- Open Integrations. In-app uploads require a license with integrations access.
- Enable the service and complete the credential fields shown. YouTube uses a Google OAuth Desktop client with the YouTube Data API enabled. TikTok uses app credentials for its Content Posting API.
- Complete sign-in in your browser and return to the app. Confirm the connection before uploading.
Upload and finish
- Open a rendered clip and choose Upload to YouTube or Upload to TikTok. Review the available metadata and visibility controls before confirming.
- For a full episode, upload from the episode page after checking the latest full-episode export, description, chapters, and hashtags.
- Wait for the upload result. For YouTube, open the resulting link and verify processing and visibility.
- TikTok sends the video to your inbox as a draft. Open TikTok to finish editing and publish it yourself.
You can also upload your exported file manually through your platform’s own app or website, including Instagram Reels. ClipClep does not provide an Instagram upload button. If enabled, Export for DaVinci offers a separate editing handoff.
Optional · AI assistant workflow
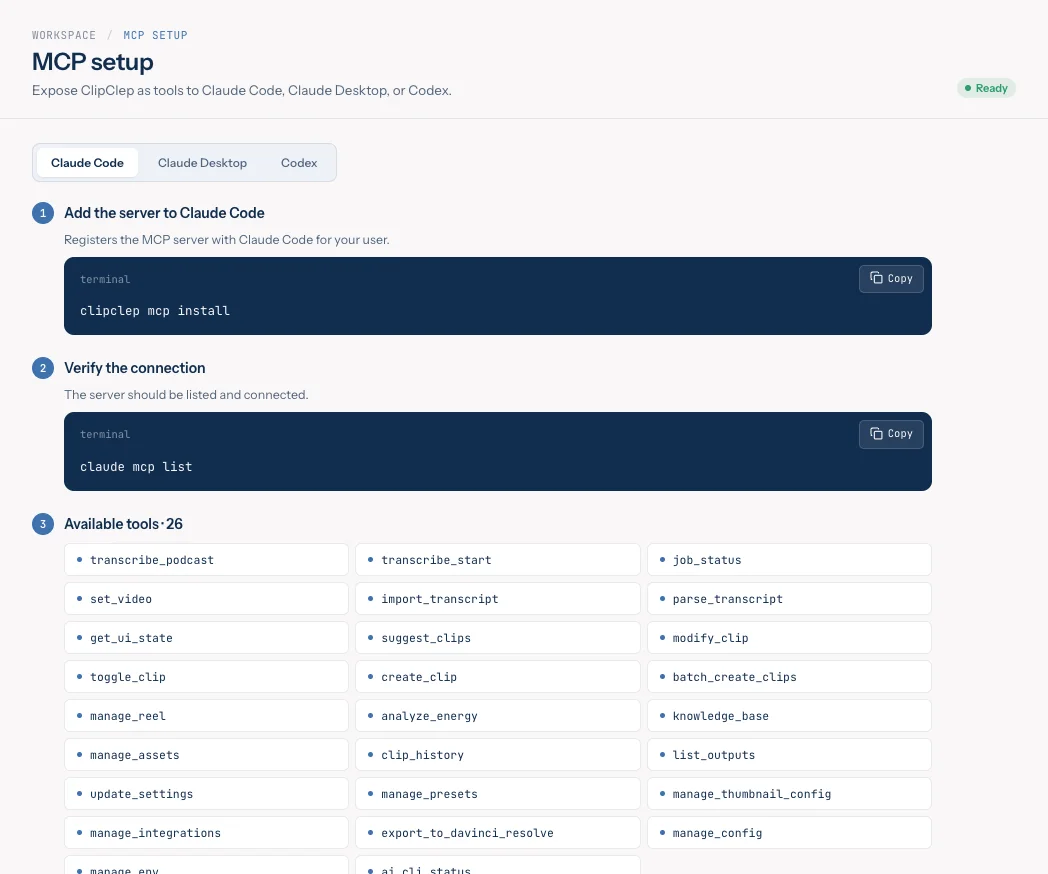
MCP lets an AI assistant use ClipClep tools for transcription, clip suggestions, rendering, knowledge, and assets. It is optional: the desktop workflow above does not require MCP.
- Open the command palette, choose MCP setup, and select your client: Claude Code, Claude Desktop, or Codex.
- Follow the exact commands or configuration displayed by the app. They include the server path for your installation.
- Restart or reconnect the assistant as instructed, then confirm that the ClipClep tools are available.
- Start with a read-only request such as “Show my ClipClep outputs.” Then request a small task with a specific source and expected output.
Review an assistant’s plan before it uploads, deletes, or changes content. Connecting MCP is separate from configuring the AI provider used inside ClipClep.
Troubleshooting
AI is not detected or clip finding fails
Check Config → AI and API keys. Confirm the CLI is installed and signed in, or that your key has quota. Keep internet connected. If progress is still updating, let the existing job finish before retrying.
Transcription fails or the words are wrong
Check that the media plays and has audible speech. Confirm the selected engine and model. Cloud transcription needs its own key. Try a smaller local model if memory is limited; correct names and specialized terms before export.
Captions are early, late, or mistranslated
Confirm the transcript matches this exact video edit. For a constant shift, adjust Time offset. If timing drifts throughout the video, regenerate or import a correctly timed transcript. Review translated captions in the final render, not only the preview.
Rendering fails or looks wrong
Confirm the source still exists, the drive is connected, and disk space is available. Try one short clip. Check the diagnostics report for encoder or caption renderer errors. Use Reframe for a crop that loses the speaker, then watch the new export.
Upload fails
Check the integration, account authorization, license access, and destination credentials. Reconnect if authorization expired. Keep the exported file: a failed upload does not mean you need to render again. Check TikTok’s inbox before assuming its draft is missing.
Collect useful diagnostics
Open Config → Diagnostics, run the report, and copy it. Include the app version, operating system, exact error, and steps that reproduce it when reporting a problem. Review the report before sharing; do not include keys or private transcripts. Check Config → Updates for available updates.

Your final checklist
- The clip makes sense without the full episode.
- The opening and ending are complete; names and claims are correct.
- Faces stay in frame, captions are readable, and sound is clear.
- Translated captions have been reviewed in the exported video.
- The title, description, thumbnail, and chapters match the content.
- The correct account and visibility are selected.
- The upload has finished; any TikTok draft has been published in TikTok.
- The source, final exports, and useful brand notes are retained for the next episode.
Ready for another episode? Return to New episode and reuse the settings, assets, and knowledge that worked.